Setting Up a Small Egg Incubator at Home
Introduction to Egg Incubator Setup
Setting up a small egg incubator at home can be an exciting venture for anyone interested in hatching their own chicks. Whether you're a beginner or looking to expand your poultry farming, understanding the essentials of egg incubator setup is crucial for success.
Why Use an Egg Incubator?
Egg incubators facilitate the hatching process by providing controlled conditions that mimic a hen's natural incubation. This helps ensure a higher hatch rate and healthier chicks.
Materials Needed for Homemade Incubator
Creating a homemade incubator is achievable with some basic materials. Here’s what you’ll need:
- Polystyrene ice chest
- Heating cable or light bulb
- Thermometer
- Water pans for humidity
- Fan (optional for air circulation)
- Egg trays
Steps to Set Up Your Egg Incubator
1. Choose the Right Location
Your incubator should be placed in an area that is free from drafts and away from direct sunlight. This helps maintain consistent temperature and humidity levels. A sturdy table or desk near an electrical outlet is ideal for setup.
2. Assemble Your Incubator
Start by modifying your polystyrene ice chest. Cut a hole for ventilation if required and install the heating cable or bulb inside, ensuring it’s secure and safe. You can also place a fan to improve air circulation if you prefer a forced-air incubator setup.
3. Set the Temperature and Humidity
For proper hatching, maintain an incubation temperature of 99.5 degrees Fahrenheit (37.5 degrees Celsius). If using a fan, you might need to adjust the temperature slightly lower to 99-100°F.
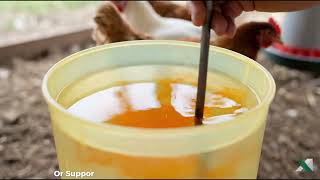
Humidity levels are equally important. Aim for a relative humidity of 50-60% during incubation. Keep water pans full to maintain this humidity. Regular monitoring is essential to ensure conditions remain optimal throughout the incubation period.
4. Prepare the Eggs
When selecting eggs for hatching, choose eggs that are clean and of good quality. Mark the eggs to track orientation and ensure they are turned regularly. Turning the eggs is crucial for proper development and helps prevent the embryo from sticking to the shell.
5. Monitor Progress
Check the temperature and humidity levels daily. If you notice fluctuations, adjust the heater or add more water to the pans as needed. This consistent monitoring will help create a stable environment for your hatching eggs.
Tips for Successful Hatching
- Maintain Cleanliness: Keep the incubator clean to prevent disease. Sanitize all materials before use.
- Keep Records: Document temperature and humidity readings along with dates for turning the eggs.
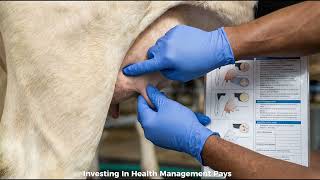
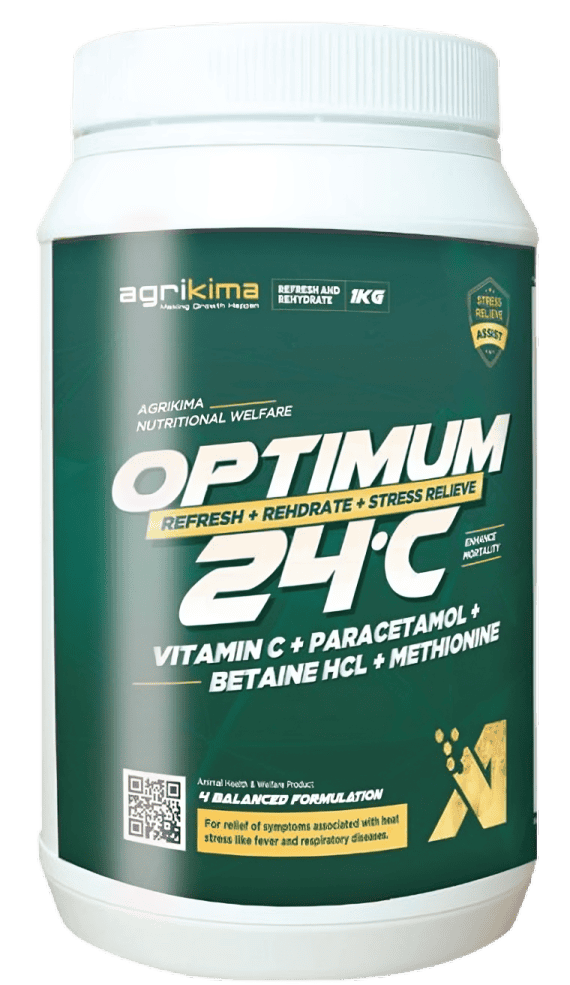
- Use Quality Products: Incorporating veterinary products and supplements can enhance the health of your chicks post-hatching.
- Prepare for the Hatch: As the hatching date approaches, increase humidity to around 65-70% to help the chicks break through the shells.
Conclusion
Setting up a small egg incubator at home can be a rewarding experience. By following these practical steps and ensuring the right conditions, you can successfully hatch healthy chicks. Remember to invest in quality products to support their growth and health. Happy hatching!